So, you just got your new Arlo Pro security camera, and you’re excited to set it up—but maybe a little nervous about getting it right. Don’t worry, I’ve been there. I installed mine last month, and after some trial and error (and a few frustrating Arlo Pro not recording moments), I finally got it working perfectly.
I’ll walk you through the Arlo Pro setup process, share some best settings I discovered, and help you avoid the mistakes I made. Whether you’re dealing with weak WiFi signal issues or wondering about the Arlo Pro subscription, I’ve got you covered.
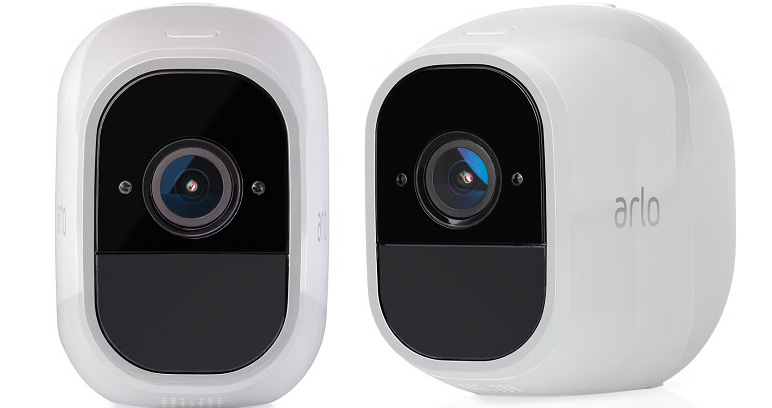
Unboxing and Initial Setup
The first thing I noticed when unboxing my Arlo Pro 4 was how sleek it looked—but looks don’t matter if it doesn’t work, right? Inside the box, you’ll find the camera, a rechargeable Arlo Pro battery, a magnetic mount, and a charging cable.
Before mounting it, I made sure to charge the Arlo Pro battery fully. A rookie mistake I almost made? Skipping this step and ending up with a dead camera mid-setup. Also, download the Arlo app (iOS/Android) beforehand—it’s essential for the Arlo Pro setup instructions.
Connecting to WiFi: Avoiding the “Arlo Pro Keeps Disconnecting” Problem
Here’s where things got tricky for me. My Arlo Pro kept dropping connection, and I later realized my router was too far away. To avoid weak WiFi signal issues, place your camera within a strong range.
In the Arlo app, go to Settings > Device > WiFi and follow the prompts. If your Arlo Pro not connecting to WiFi, try rebooting your router first—it’s a simple fix that worked for me.
Mounting the Camera: Best Angle for Motion Detection
I wanted my Arlo Pro to catch every little movement, so positioning was key. The magnetic mount makes adjustments easy, but here’s what I learned:
-
Height matters: Too high, and you’ll miss details. Too low, and pets trigger false alerts.
-
Avoid backlighting: Direct sunlight can mess with Arlo Pro night vision.
-
Test before finalizing: Use the live view to check the angle.
Fixing “Arlo Pro Not Recording” Issues
This one drove me crazy. After setup, my Arlo Pro just wouldn’t record. Turns out, I hadn’t enabled motion detection in the app. Here’s how to fix it:
-
Open Arlo app > Settings > Mode.
-
Select Arm Mode (24/7 recording needs Arlo Pro subscription).
-
Adjust motion sensitivity—too high, and every leaf triggers it.
If it’s still not working, check the Arlo Pro firmware update. Mine needed one before recording properly.
Extending Battery Life: My “Arlo Pro Battery Drains Fast” Solution
The Arlo Pro battery life was my biggest headache. At first, it died in just a few days. After tweaking settings, I now get weeks per charge. Here’s how:
-
Lower motion detection sensitivity.
-
Reduce video quality if you don’t need 4K.
-
Use solar panel (a game-changer for outdoor setups).
Arlo Pro Subscription: Is It Worth It?
I debated this for weeks. The free plan only stores clips for 7 days, and Arlo Pro cloud storage free isn’t enough for me. If you want *24/7 recording*, you’ll need a paid plan.
But here’s a trick: A microSD card in the Arlo Pro base station can save clips locally—no subscription needed.
Night Vision, False Alarms, and Fixes
I got 14 alerts between midnight and 5 a.m. Each one showed a moth or a shadow. That’s when I researched arlo pro 4 night vision settings. Turned out, I had IR sensitivity set way too high. After turning that down and adjusting the angle (again), I finally got only the alerts that mattered.
One minor panic—when I saw the message “Camera Offline.” Thought it had died. Nope. Just lost WiFi briefly. If you ever see that, breathe. Restart the router, and it usually reconnects.
My Real-World Experience
Setting up the Arlo Pro wasn’t flawless, but once I figured out the hidden settings and fixes, it became my go-to security cam. If yours is offline or not recording, don’t panic—just revisit these steps.
Got questions? Drop them below—I’ll help if I can!